
How to Get Started with Your BespokeBooth Membership
Welcome to BespokeBooth. If you have just joined, this guide will help you understand what to do first, where to find your templates, and how to make the most of your membership.
BespokeBooth is designed to make your photo booth template workflow easier. Instead of spending hours searching for designs, editing files, or going back and forth with clients, you can use ready-made templates, share your template selection widget, and request done-for-you edits from our team.
This guide is especially useful if you are new to BespokeBooth, not confident with design software, or simply want a faster way to manage client template requests.
Quick summary:
BespokeBooth members can log in, browse the template library, download ready-made photo booth templates, set up a client template selection widget and request done-for-you edits where included. This guide explains the basic workflow for new members, from choosing templates and collecting client details to checking completed files, requesting revisions and keeping your photo booth design process simple.
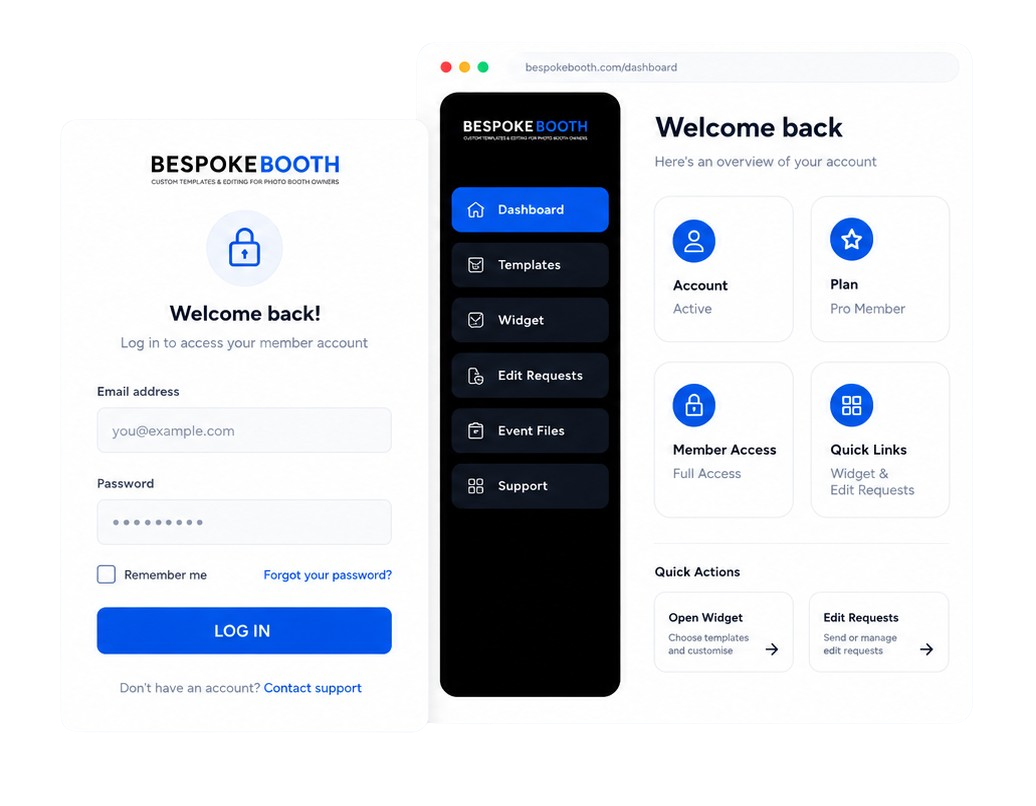
1. Log In to Your BespokeBooth Account
The first step is to log in to your BespokeBooth account using the email address you used when joining.
Once logged in, you will be able to access your member areas, download templates, view available resources, and use any membership features included with your plan.
What You Should Check First
- Your account email address
- Your active membership plan
- The members area
- The template categories
- Any widget or editing request pages available to you
2. Browse the Template Library
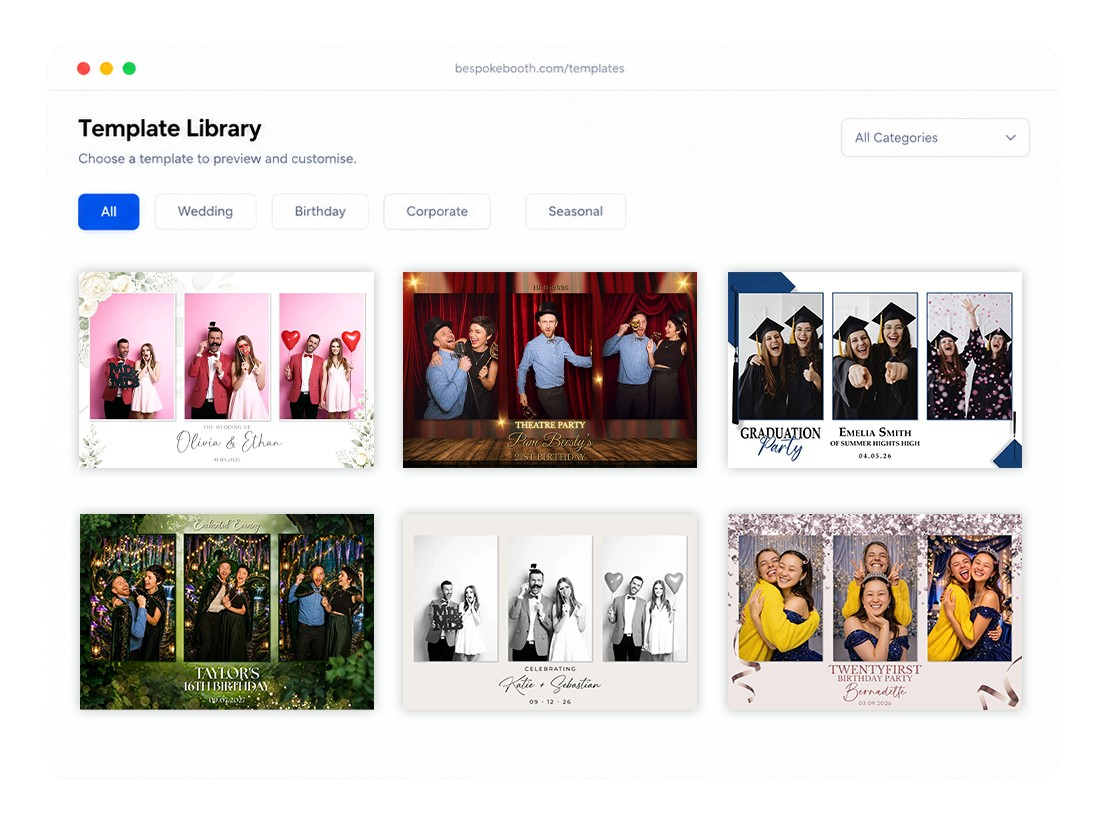
Your membership gives you access to a large collection of ready-made photo booth templates. These are designed to help you quickly find layouts for different events, themes, and clients.
You can browse templates by category, such as weddings, birthdays, baby showers, graduations, Christmas, corporate events, seasonal events, and more.
Practical Example
If a client books a wedding photo booth and asks for something elegant, you can browse the wedding templates, choose a design that suits their theme, and either edit it yourself or request an edit from the BespokeBooth team if that is included in your membership.
3. Download Templates When You Need Them
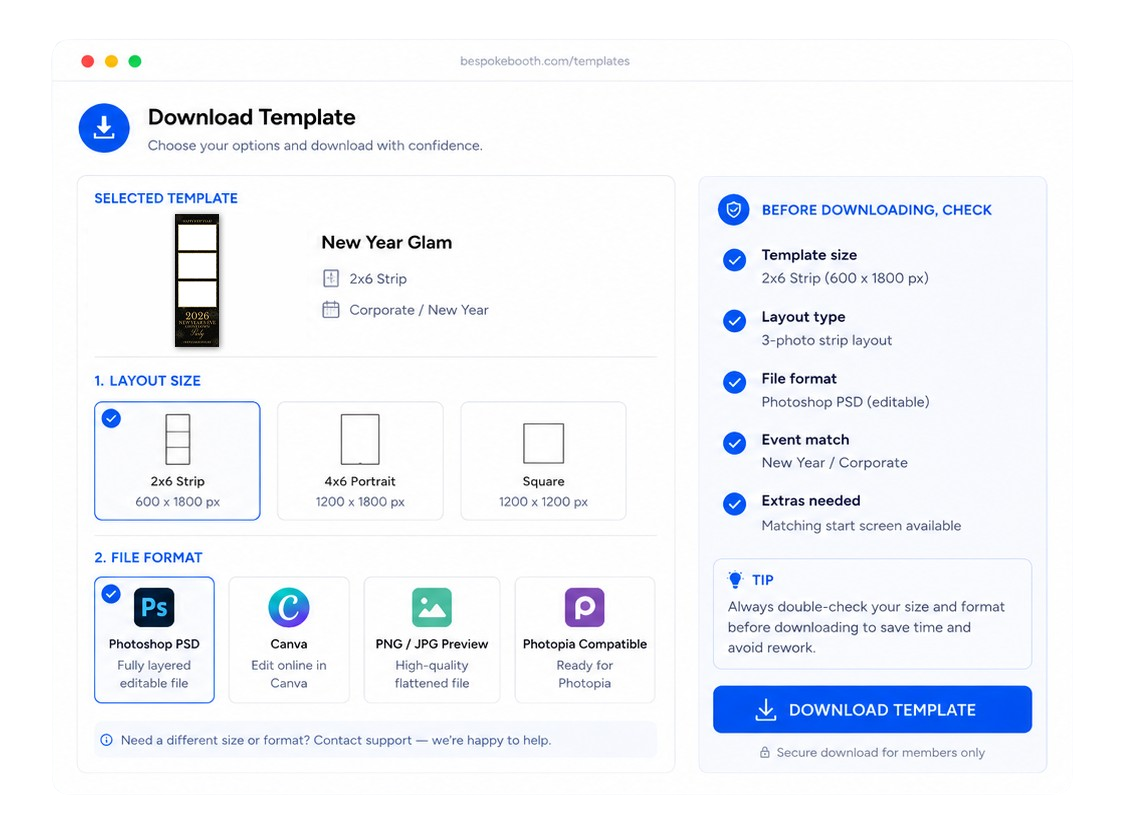
Once you find a template you want to use, open the product page and download the available files.
Depending on the template, downloads may include formats such as Photoshop, Canva, Photopia, or other supported file types. Always check the product description and download section to see what is included.
Tips Before Downloading
- The template size
- The photo booth layout type
- The included file formats
- Whether the design matches your client’s event
- Whether you need a matching start screen or extra layout
4. Use the Template Selection Widget
One of the most useful BespokeBooth features is the template selection widget.
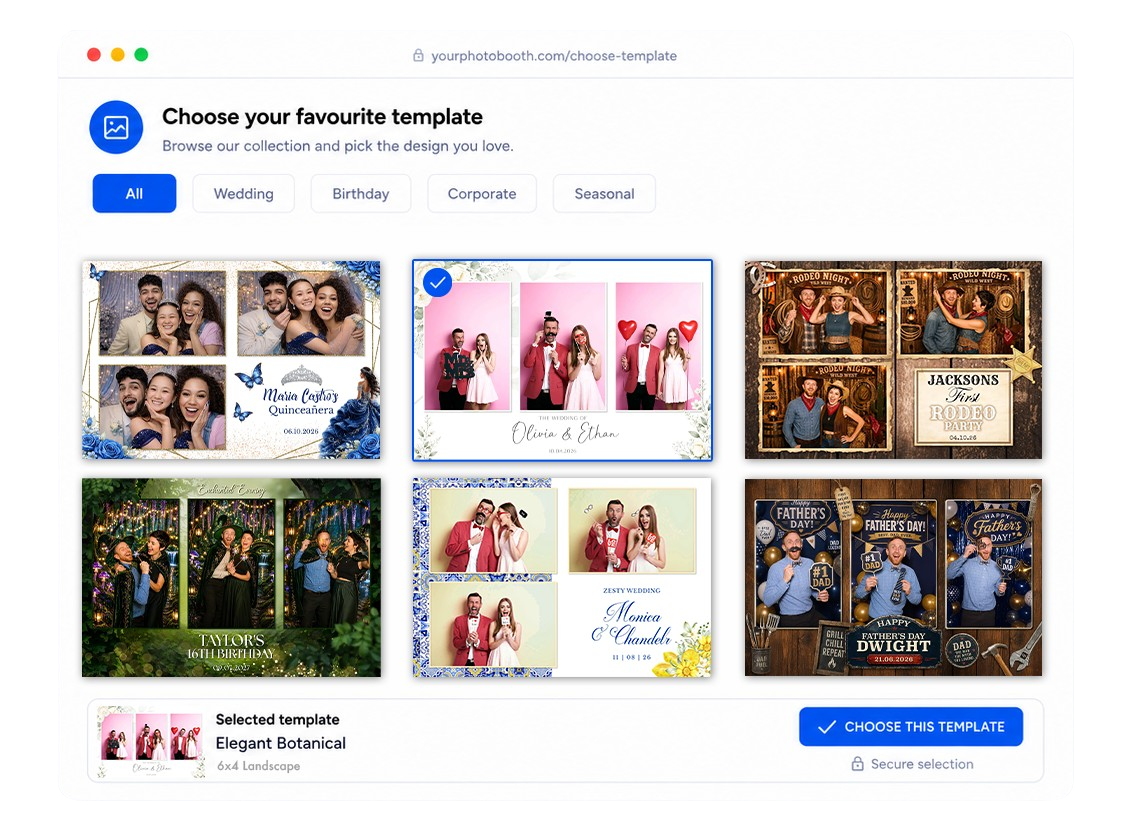
The widget allows you to show clients a selection of templates so they can choose the design they like. Instead of sending screenshots, links, or large folders manually, you can direct clients to your widget and let them pick from your available template options.
Why the Widget Helps
The widget can make your client workflow much smoother because it gives your clients a simple way to browse designs and tell you what they want.
For example, instead of a client saying, “Can you send me some birthday templates?”, you can send them your widget link and ask them to choose their favourite design from there.
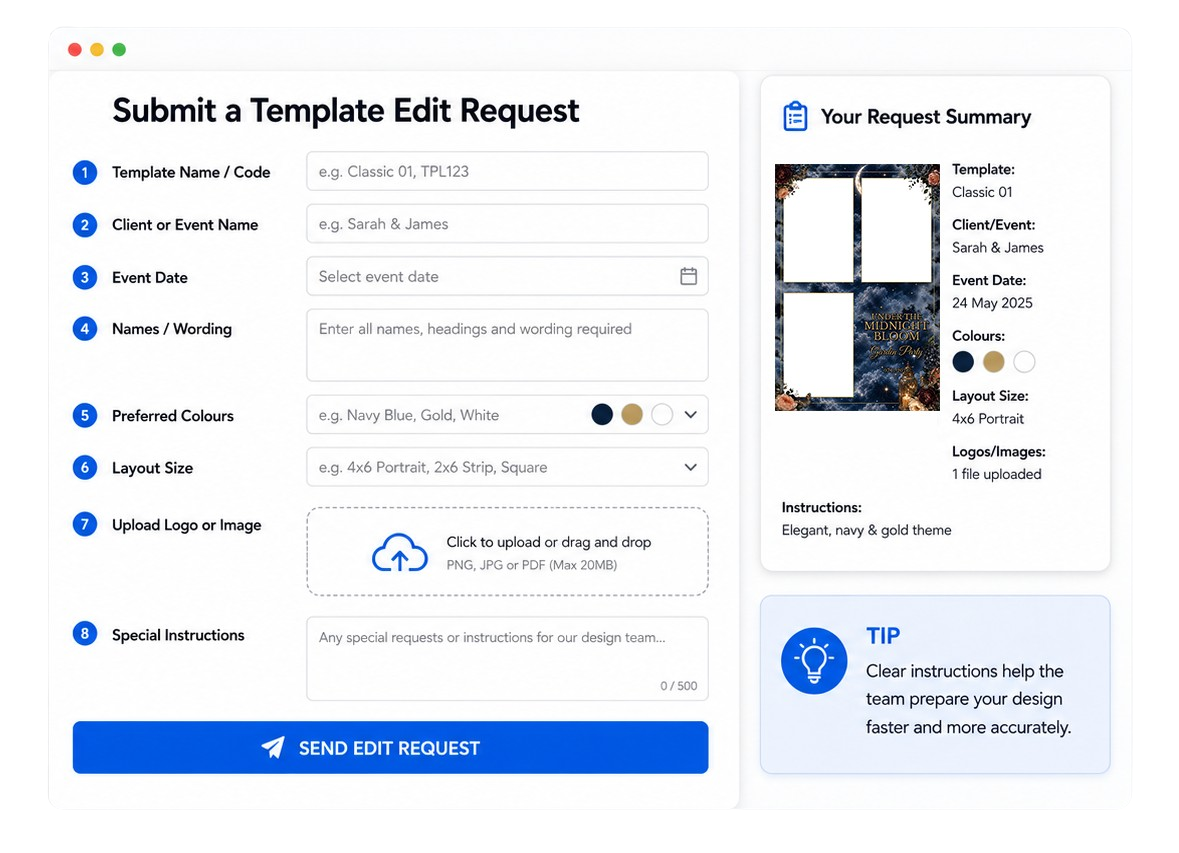
5. Request Template Edits from the BespokeBooth Team
If your membership includes editing support, you can request template edits from the BespokeBooth team. This is helpful if you do not want to edit templates yourself or if you want to save time during busy periods.
You can send the event details, client wording, names, dates, colours, or any design instructions needed for the edit.
What to Include in an Edit Request
- Client or event name
- Event date
- Required wording
- Preferred colours
- Any uploaded logos or images
- Special instructions
Practical Example
A client wants a birthday template for their event. You can choose the template design, add the client’s name, the event date, and any colour changes. The BespokeBooth team can then prepare the edited file for you, helping you avoid doing the design work yourself.
6. Check Your Edited Files and Downloads
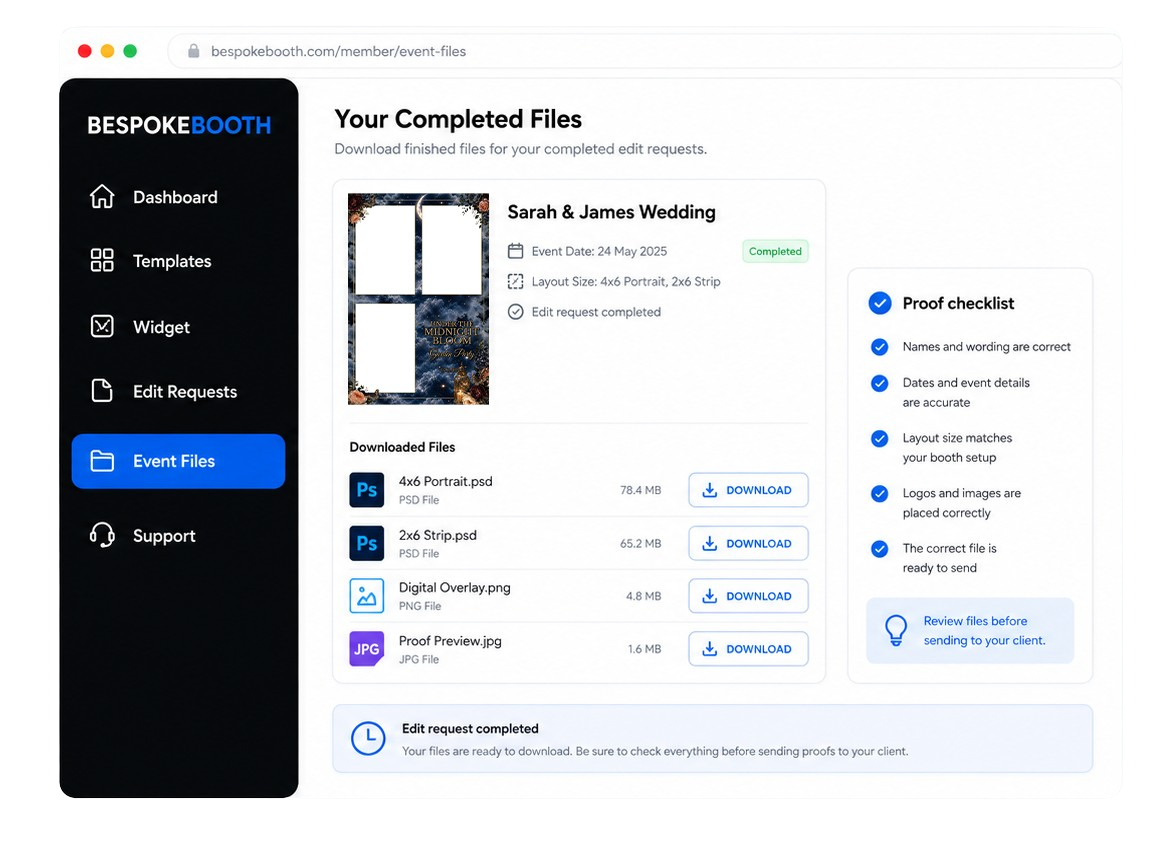
After your edit request has been completed, you can access the finished files through the relevant member download or event files area.
Depending on the workflow, you may be able to download the completed files directly or access a folder containing the finished designs.
Before Sending Files to Your Client
- Names are spelt correctly
- Dates are correct
- The layout size is correct
- The design matches the client’s request
- Any logos or images are placed correctly
- The file opens properly in your chosen software
- Test print to make sure text is visible
7. Request Revisions or Additional Layouts When Needed
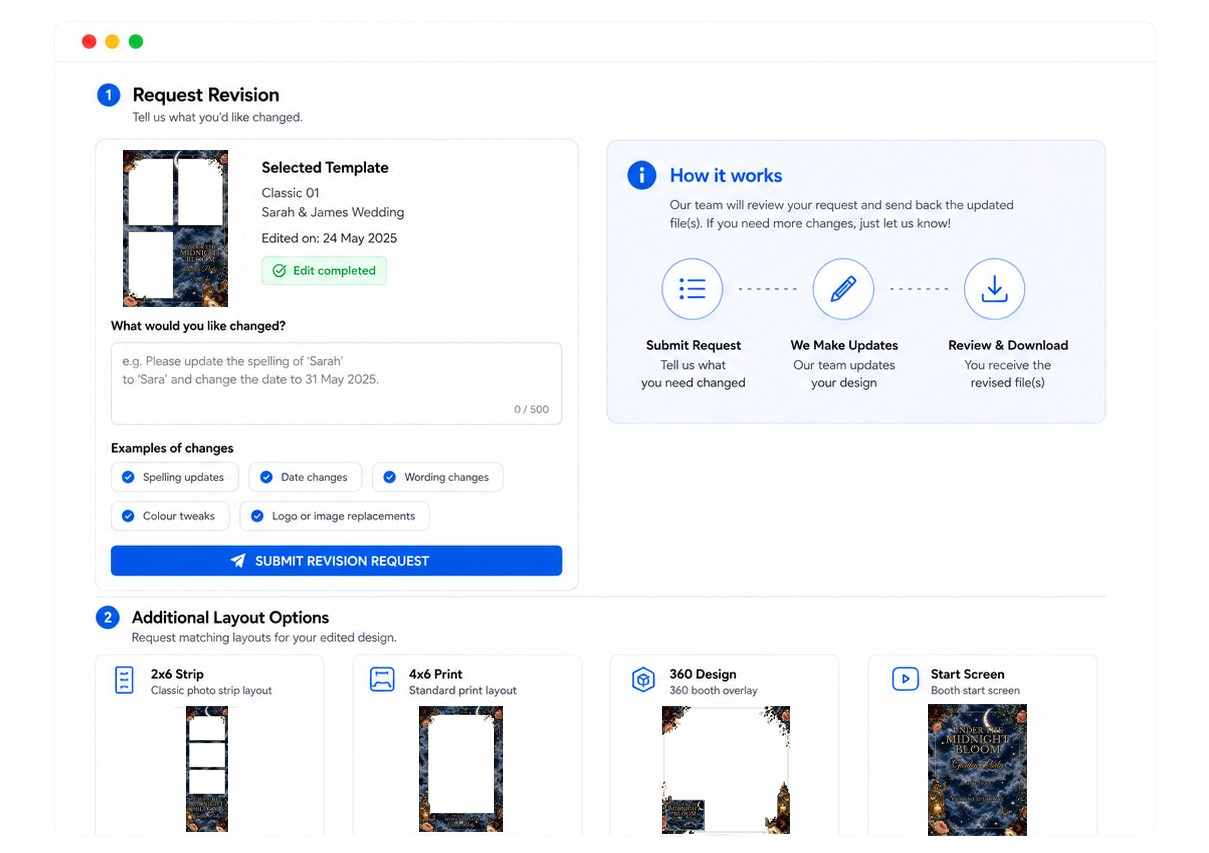
Sometimes a client may ask for a small change after seeing the design. They might want a name corrected, a colour adjusted, or a different layout prepared.
If your membership allows revisions or additional layout requests, you can submit these through the relevant request page.
Common Revision Examples
- Correcting spelling
- Changing the event date
- Adjusting colours
- Updating client wording
- Replacing an image
- Making the design clearer or easier to read
Common Additional Layout Examples
- 2x6 strip layout
- 4x6 portrait layout
- 6x4 landscape layout
- Digital square layout
- 360 booth layout
- Start screen layout
8. Keep Your Workflow Simple
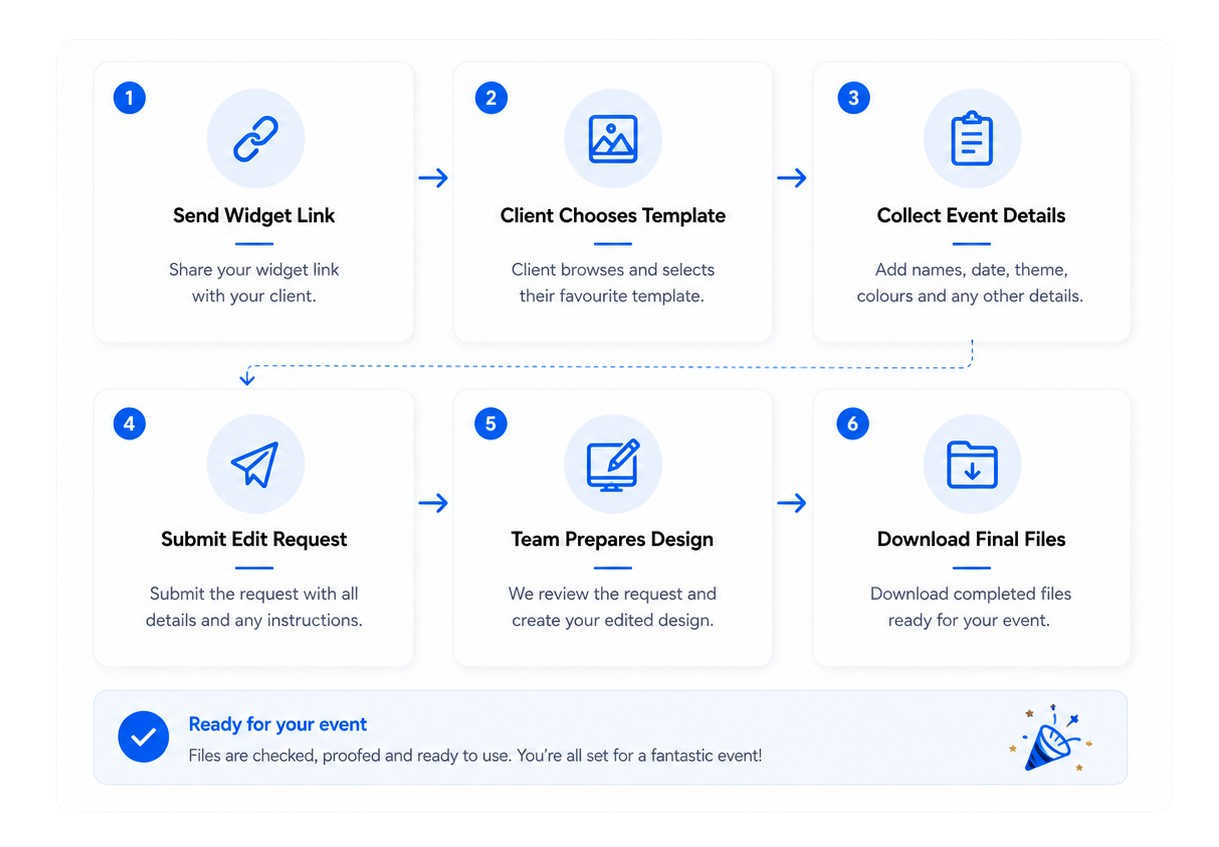
The easiest way to use BespokeBooth is to follow a simple process for each client. With your template widget you can automate this process without having to submit the edits yourself.
Suggested Client Workflow
- Send your client the widget link.
- Ask them to choose a template.
- Collect their event details.
- Submission also goes to our team
- Our team creates the design
- Download the completed file.
- Check the details.
- Send the proof to your client.
- Request a revision if needed & any additional layouts
- Load the final design into your booth software.
9. Best Practice Tips for New Members
If you are new to BespokeBooth, do not try to use every feature at once. Start by using one template for one real client booking. This will help you understand the process clearly.
Save Your Widget Link
Once your widget is set up, save the link somewhere easy to find. You may want to keep it in your email templates, client booking form, CRM, or notes app.
Use Clear File Names
When downloading or saving edited files, use file names that include the client name and event date, such as smith-wedding-12-september-2026-4x6-template.
Give Clear Instructions
The clearer your edit request is, the easier it is for the team to complete it correctly. For example: “Please change the gold text to navy blue and add the couple’s names: Emily & James.”
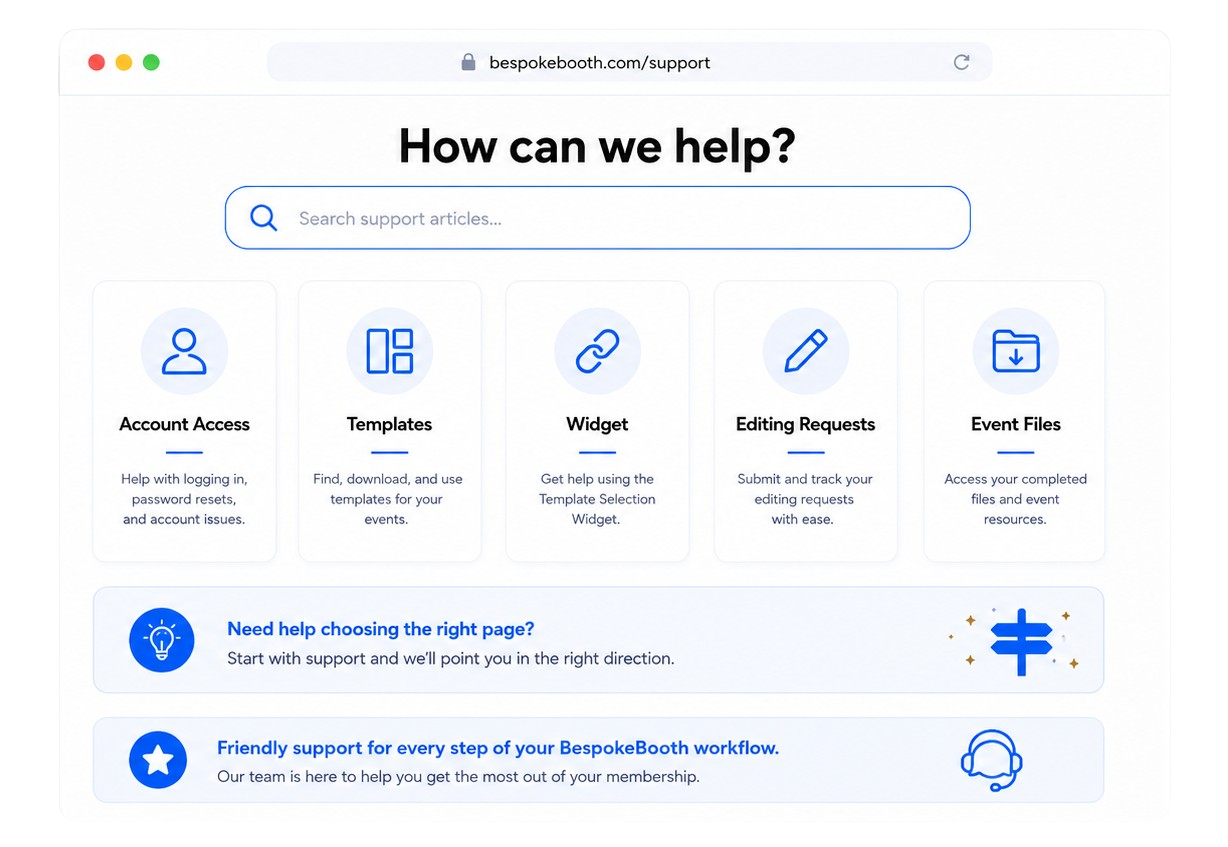
FAQ'S
Log in using the email address you used when joining. Once logged in, you can access your member features, downloads, templates, and available support pages.
Not always. Some members edit templates themselves, but BespokeBooth also supports photo booth owners who are not confident with design software through editing support where included.
The widget helps your clients browse and choose templates more easily, instead of you sending lots of design examples manually.
Yes, if your membership includes editing support. You can submit the client’s event details, template choice, wording, colours, and any extra instructions.
Submit a revision request if revisions are included in your membership or available through your plan. Include clear instructions about exactly what needs changing.
Final Note
Your BespokeBooth membership is here to make your template workflow easier, faster, and more professional.
A good first step is to log in, browse the template library, and set up your widget. Once you have done that, you can start using BespokeBooth as part of your client process: let clients choose a template, send the details to the team, and download the completed files when they are ready.
The more you use the same simple workflow, the easier it becomes to manage client designs without spending extra hours editing templates yourself.